The weather is terrible at the moment.
It's cold dark windy and rainy. Starting with a cube I came to
where I have planned and stop.


I've been using the heavy three pound
lump hammer and the large point. Now I'm using the light point and
the one and half pound iron lump hammer.
 |
| Drawing on one of the A4 photos. I'm doing it in bed. |
I photograph the stone from
all angles - front stone face, left front corner, left stone face,
left back corner, etc. and from above. Then I put the photographs on
the computer and print them out at A4. As they come from the
printer, I take each one and study it, and with a 7B pencil mark the
places where I plan to remove the stone. I line up the photos three
in a row e.g. front stone face, front left corner, left face and
double check they “agree”.
Then I return to the stone an mark
where I plan to remove. Also I make another mark on each original
face which I have kept, never cut near the base, as it is so easy to
lose our way on the stone. It could say front, left, back, right, en
each face of the stone at the base.
 |
| Drawiing on the photos again. This time in my armchair. |
I have been marking with charcoal. It
makes the stone grey and dirty looking, but it shows up well. I wash
it off occasionally. I also use watercolour and as I'm
carving two figures together I
painted one figure green and the other yellow to remind me how they
fitted together.
 |
| This pic shows the clothing and the charcoal marks on the stone. |
I am now getting
the basic shapes the sculpture looks like it's created with sheep's
wool, i.e very bumpy. I will need to work into it creating a
smoother finish using chisels then files then abrasive paper, I have
rifflers and a new sort of file that looks like a file covered in
metal crumbs and I'm getting new tools tomorrow.
Clothing: I've got
a gas-man's type overall navy drill and bib and braces, heavy toe
shoes. I've not got steel toe cap boots. Need some! I wear a glove
in my chisel holding (right) hand and goggles that can go over the
specs if you need both. Plus an old anorak and leather beret. (I am
left handed).
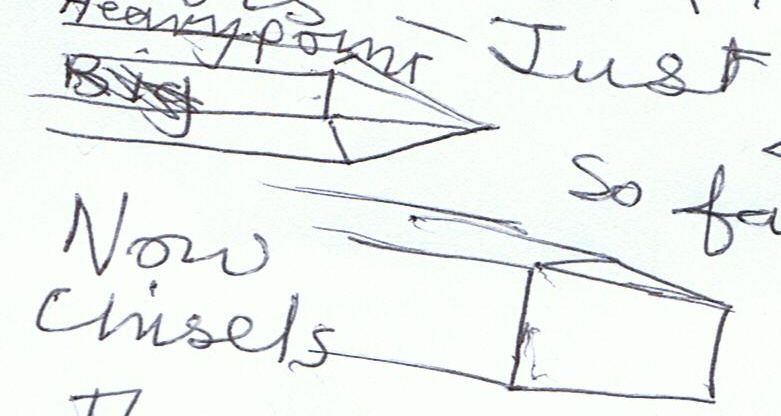
Tools: Just a point
and a hammer. Now chisels, then files and rifflers rat-tail file,
abrasive paper in several grades so they can be whittled down to size
and also smoothness. I'll leave the hair thicker than the faces and
work into it with waves and texture. I want the heads to grow from
the neck at the correct angle so I am studying anatomy constantly and
looking at little children and how their anatomy differs. I want the
total shape of the sculpture to 'speak'. That was there from the
start. I don't want to lose it. There's a sweep up from the boy's
left shoulder up past his ear to the top of his head, another from
the same shoulder down his left arm joining the girls shoulder.
Their heads rest together.
I've studied he
skeleton of the back, I will be interested
in the facial carving, must be even, how to do the eyes, get the head
seated on the neck evenly comfortably, inclined slightly the hands
softly relaxed not claw like or parrot hands resting gently. The
swing of the boy's back, the swirl of the girl's skirt the calm boy's
expression, the delighted smile on the girl. Some aspects lost in
the stone. All rising from the base, which is still almost a square
without corners, but the areas of untouched stone face have gone.
The drilled hole for fixing should have been done with the masonry
bit on Black and Decker in the centre of the base plate for fixing to
the plinth, All this before the face details are done or a nose may
break off!

Finally a picture of the stone as it is tonight. I have just begun work with the file.
No comments:
Post a Comment